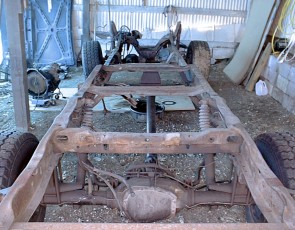
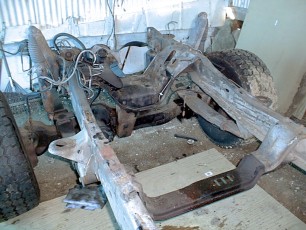
Well here we are, nearly done taking the truck apart. We finally saw the light at the end of the tunnel. We were finally getting close to actually rebuilding the truck with new stainless steel hardware and newly cleaned and painted parts. To get there however, we had to finish stripping down the frame so it can be modified, improved, enhanced, sandblasted and painted.
The first step was to take our rolling chassis and begin to remove the brake lines, fuel lines, shocks, anti-sway bars and finally remove the axles. We disconnected the rear drive shaft from the rear differential and disconnected the carrier bearing from the frame. Next we began to remove the brake and fuel lines. We ended up cutting the brake lines at the front and rear as the fittings on the frame were too rusted to be disconnected. Using a hack saw, we cut the lines just above frame mounts over the front calipers and in the rear, above the frame mount over the axle. Next we began disconnecting the fuel lines at the solenoid actuated valve on the frame and popping the plastic lines from the plastic clips mounted along the frame rails.
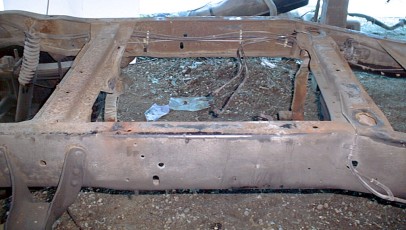
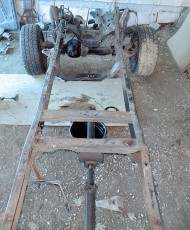
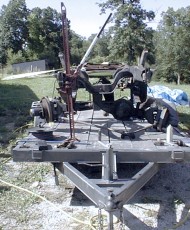

Now before we remove the axles, springs and shackles, we needed to have the frame towed to our local welding shop for some modifications. Jay from Sturm’s Towing came over and got us going. The first of which was to add some more clearance for the front drive shaft where it comes down over the transmission cross-member. We had a piece of “c” channel welded in place of the original metal to allow additional room for the steeper drive line angles with the new Superlift 6″ suspension lift from Hill 4 Wheel Drive and Superlift. Next, we had new metal welded on all of the cab mounting locations as the factory metal had been seriously fatigued and worn. Lastly, we had a battery box fabricated to move the batteries down under the bed of the truck and addtional mounts created to allow for our new air tank to be mounted over the rear axle. Once the modifications were complete, Sturm’s Towing brought our chassis back to the shop for the final disassembly.
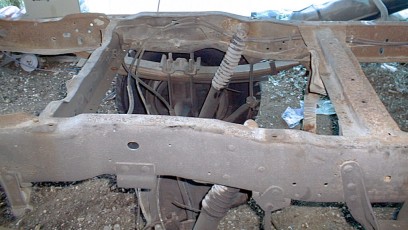
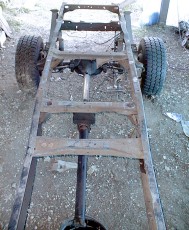
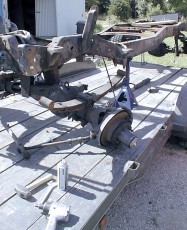
The next step was to remove the front axle. This ended up comming off in two pieces because of the independent suspension setup. The bolts that mount the springs to the truck had rusted inside of the metal sleeves which are inside of the spring eye bushings. Using a sawsall, we had to cut each bolt in two places in order to get the springs to drop out of the shackles and spring mounts. Since we were not using these springs again, we just left them where we cut them. With the frame suspended by jack stands on our trailer, the axle dropped along with the spring pack as each side was cut. Using an impact wrench, we removed the last bolts that held the axles to the pivot brackets.
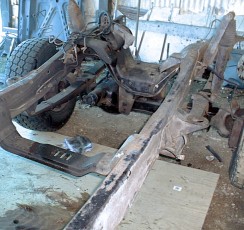
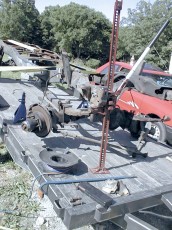
Once the entire axle was disconnected, we separated the two halves by pulling the axle shaft out of the slip yoke. Each side was then hoisted off of the trailer and set aside. The rear axle was next. In order to simplify the process, we first removed the nuts holding the U-bolts around the axle and rear spring packs. Once these were removed, the rear axle was able to be rolled off the rear of the trailer, out of the way. The frame was again supported by jack stands and the rear springs now hung by themselves from the frame.
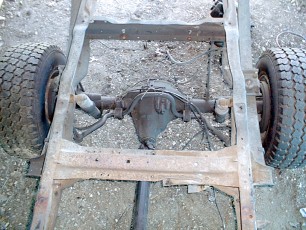
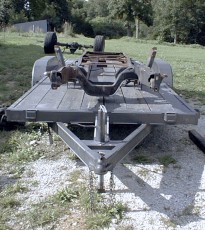
We encountered the same rusted bolt situation in the rear but the reverse shackles in the rear posed an even harder problem in trying to remove the springs. Finally we opted to use a 4″ grinder and grind though the bolts between the springs and the spring brackets. Then we ground off the heads of the bolts to get the rear springs off of the truck. Finally we were able to take the springs aside and lower the frame down onto the bed of the trailer. From here, it’s off to the sandblaster, along with new front springs, factory rear springs, all of the shackles, and many more misc. pieces and parts to be cleaned and painted.