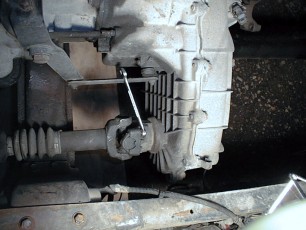
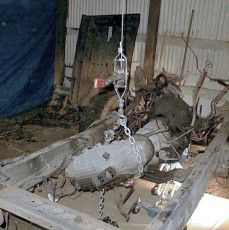
With the cab and bed out of the way, disconnecting and removing the old transfer case was very easy. I started by securing the transmission with a transmission jack from underneath and securing the transfer case with a chain and a come-along hoist. Together, the transmission and transfer case were only supported by transmission mount and the rear drive shaft. Once secured, I started by disconnecting the rear drive shaft. There are four ½” nuts on two “u” bolts holding the u-joint caps into the yoke. I used a very ingenious device called a ‘cap-keeper‘ made out of rubber that has two cups and strap in-between which we then placed over each loose u-joint cap to keep them from falling off.
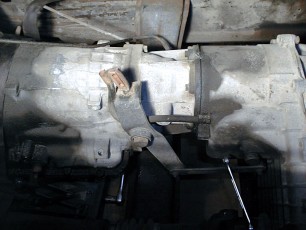
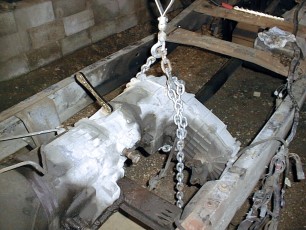
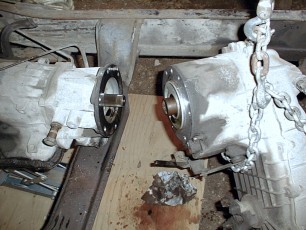
Next, I disconnected the front drive shaft from both the transfer case and from the dana 50 front axle. From here, I had to disconnect the shift linkage. The new transfer case would not need these connections since it was to be electronically controlled. Now I began to remove the bolts connecting the transfer case to the transmission using a ½” ratcheting combination wrench. Once the bolts were removed, it just took a soft touch to separate the two units. Fortunately, I only spilled about a half of a quart of transmission fluid on the ground since the tranny was angled up at the connection.
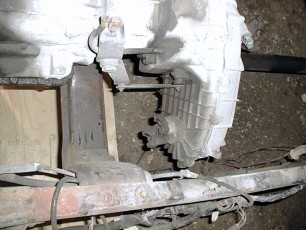
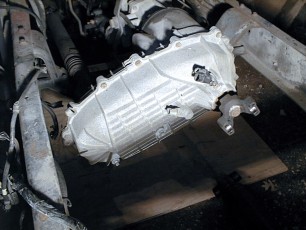
I then reversed the come-along and lowered the transfer case to the ground. After removing the chain and winch, it pretty easy to carry it out to the car so I could take it back for the core deposit on the 1356 I had just waiting for the frame to be sand blasted and painted.
Working late at night to remove the transfer case