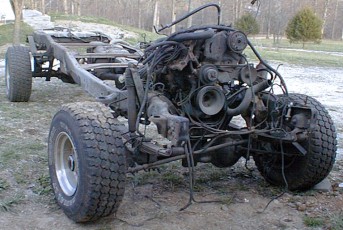
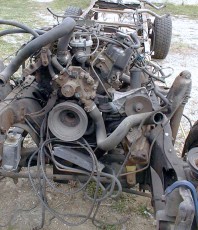
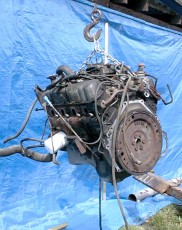
After the cab had been removed and was no longer in the way, I had complete and unobstructed access to the entire drive train. To begin, I needed to remove the components which I “transplanted” onto my custom 460 including several brackets and fittings. This also gave me the access I needed to bolt the engine sling to the block for lifting it out off of the frame.
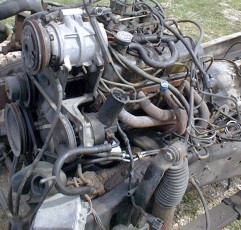
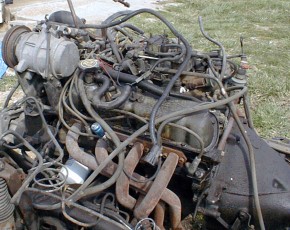
The first item to be removed was the air conditioner compressor. All of the hoses had already been disconnected to remove the front clip and the cab. All that was left were the five bolts holding it in place. The bolts were removed and the compressor set aside for the rebuild. Then I disconnected the power steering pump but I had not yet disconnected the power steering hydraulic lines. Next, I then removed the mounting plates and brackets that held these two accessories to the engine.

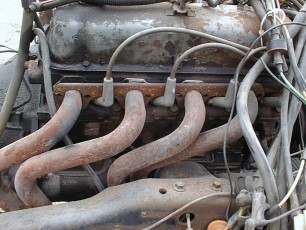
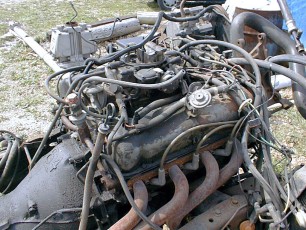
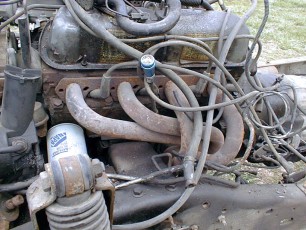
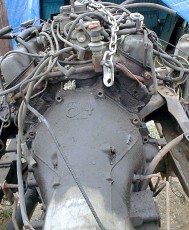
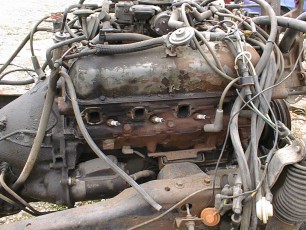
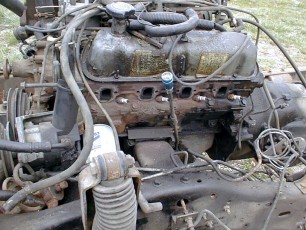
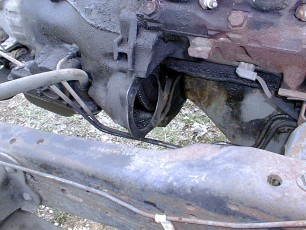
The next item up for bids was the exhaust. Using a modified allen wrench in a 3/8″ drive socket, I used an air wrench to remove all of the header bolts from the manifold. Once these were removed, the headers were removed from the exhaust tubes. These then easily lifted out of our way. To get to the torque converter bolts on the flywheel, I removed the access plate on the bottom of the bell housing and the starter. By using a pry bar to spin the flywheel, I was able to access the four flywheel bolts. I broke them loose with a regular ½” socket drive and then used the air ratchet to spin them the rest of the way off.
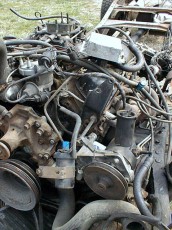
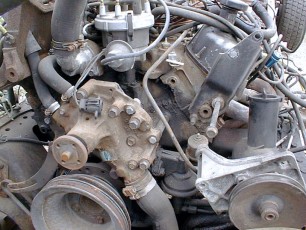
Now, I used an impact wrench to remove the six bolts connecting the transmission’s bell housing to the engine block. Lastly, I used the impact wrench to remove the nuts securing the engine mounts. It was now time to lift the block out and away. Using a standard chain link engine sling, I used two 7/16″ grade 8 bolts to anchor the sling to the heads. From here, I lifted the engine out slowly, making sure we hadn’t missed anything. Once clear, the block was set aside to be sold.