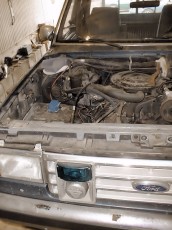
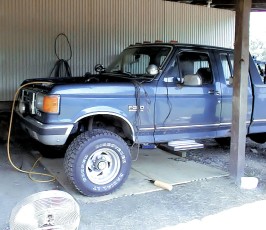
This truck is no stranger to hard work and hard play. For 13 years, Blue has been a faithful workhorse. From the northern Maine woods to the heart of Texas, this truck has hauled heavy loads, pulled even heavier trailers and put over 250,000 miles on the odometer. Keep in mind, every mile is on the original factory engine and drivetrain although the tires have been swapped out a few times over the years. (she came with firestones and we couldn’t wait to get rid of these and get some real tires) This is not to say that parts haven’t broken, failed or otherwise just worn out. That’s to be expected with a piece of heavy equipment. This truck has seen a lot of action and now it’s time to pay her back for all these years of faithful and dependable service.
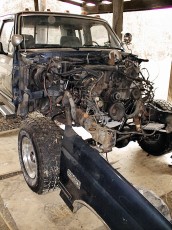
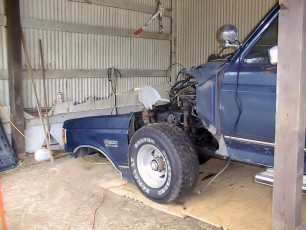
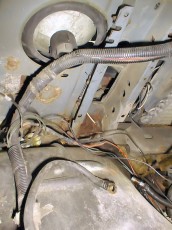
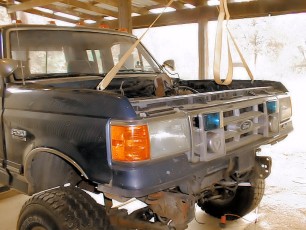

We are began by removing the front clip, the cab and the bed so we could have complete access to the frame and drivetrain. First was the front clip. This allowed easier access to the engine for it’s removal and replacement. While the front clip was off of the truck, there were some areas that required attention. One of the mounts on the driver’s side was completely rusted through and the assembly was just resting on the frame. We had to have all the oxidation removed and new metal welded in the areas where the original metal has given way.
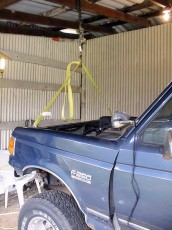
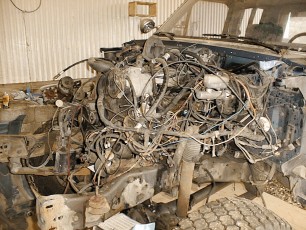
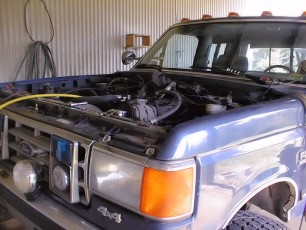
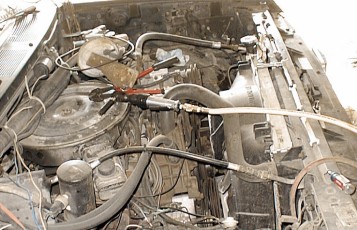
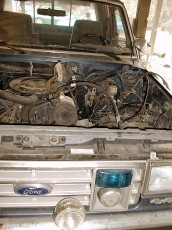
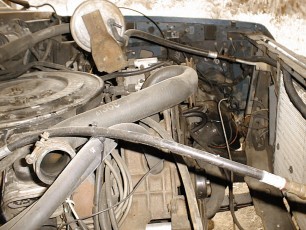
To remove the front clip, we started by removing the hood and setting it off to the side. The next step was to disconnect all of the wires from the headlights, turn signals and any other electrical accessory mounted on the clip or the bumper. With the wires out of the way, we removed the radiator. Disconnecting the hoses was simple, but one of the transmission oil lines did not want to cooperate so the tube had to be cut and crimped. It will be re-flared when we put everything back together in a few months. The radiator just liftsout and is set to the side. All of the coolant was collected for recycling. The last step was to disconnect and remove the front bumper which was then set aside in the shop.
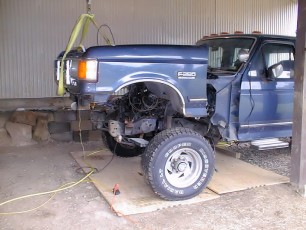
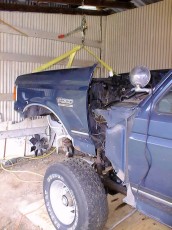
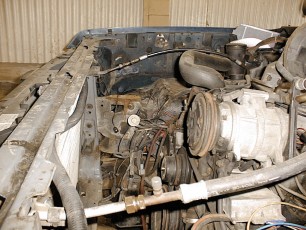
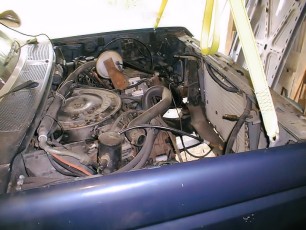
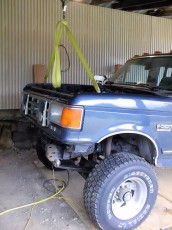
With the radiator out of the way, we begin to remove all of the mounting screws holding the front clip to the frame and to the cab. There are two main bolts at the radiator supports that are loosened and removed first with the help of an impact wrench. Next we used an air ratchet to remove all of the body bolts connecting the front clip to the cab. Once these were removed, we used a “comealong” and nylon strap to lift the front clip off of the truck. The comealong was chosen because it allowed us to have complete control over the process as opposed to a winch or hoist. Once the strap was in place near the fulcrum, we began to lift slowly, ensuring that we had not missed any mounting bolts. Sure enough, there were two hidden behind the doors and two that hold the inner fender walls to the frame. Once these were removed, we slowly lifted the clip in the air until it was completely clear of the truck. At this point, we simply rolled the truck backwards, out of the way and lowered the clip the ground. We were then able to pick it up and move it out of the way. The truck sure looks very strange now and we know that we were well on our way to making this project a reality.