Time To Replace The Old Cardboard Headliner For Something More Modern
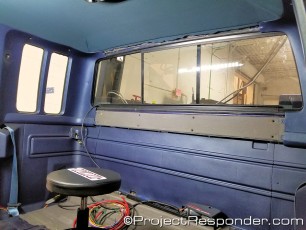
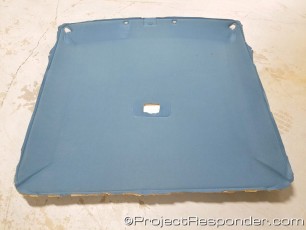
More than a decade ago when I was creating Project Responder, I re-used the “cardboard” backed headliner and just had new material applied to the board to make it look new. It was a major pain getting it out of the truck, even with all of the seats removed as it had zero flexibility. There are a handful of companies that have the patterns for older vehicles who still offer new headliner replacements. I received samples from two of these companies and ended up going with the one which had the closest color match to the original. It arrived rolled up in a long box. It was clear that it was indeed very flexible and this ended up being a huge point of frustration while getting it installed.
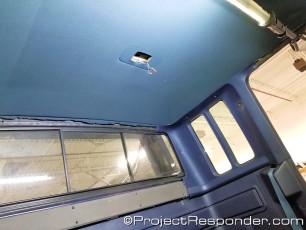
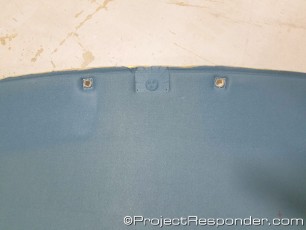
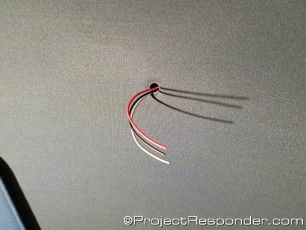
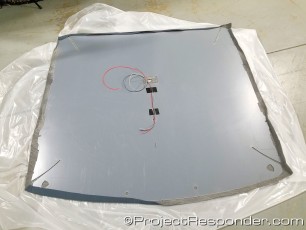
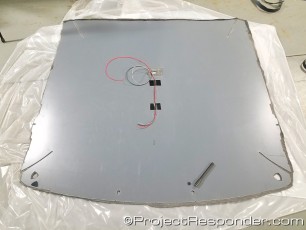
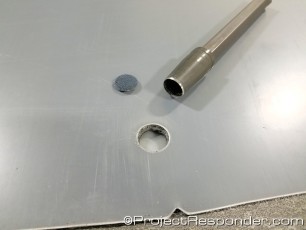
The first order of business was trimming the excess fabric from around the backing as well as cutting the fabric out of the openings where the sun visors mount. Next was measuring and adding the wiring for the additional lighting to be installed later. Finally, I had to punch out the hole for the extra lighting that would replace the map lights. I’m glad I held onto the gasket punch set I bought for the original built. It has proven to be very handy over the years and it was perfect for this job as well.
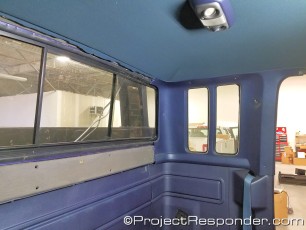


Now the task was to put the headliner in the cab. This was much easier said than done. The flexibility I mentioned earlier, this is where it became a comedy of errors while trying to get it in place. I was doing this job by myself and it was infuriating. After getting one side in place and then moving across to the other side, as I began to set it in place, the first side would slip out and fall down. My arms were about two feet too short. Finally after several minutes I ended up calling over one of the guys in the shop to lend a hand and that made all the difference in the world. Once it was in place and held there with the factory clips, I was able to start replacing the interior trim panels and the sun visors. Success, at last. Now all that remained was wiring and installing the lights.
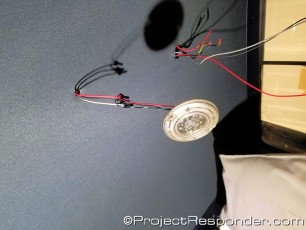
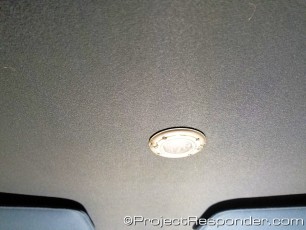
Instead of the factory dome light, which I never liked, I opted for a large, bright, 6″ round LED dome light from Whelen which also includes red LEDs for night time use. The trick is that Whelen makes these ground activated instead of power activated. This means using relays since the factory wiring has a constant ground and power only when the door is open or the headlight switch is twisted on. For those of you under 30, you’ll have to do some homework to learn how the controls on cars and trucks used to operate. Computer controlled push buttons were still just a concept back then. I digress… I chose to add a smaller 3″ light closer to the front of the cab to provide full illumination for the front seat occupants. This light also doubles as a protector of night vision with its red LEDs also. Now, all that remains is finishing the interior.